鲜花贺卡简笔画教程
鲜花贺卡简笔画,今天给大家带来一组鲜花贺卡简笔画,很适合送给朋友,一起来画一画吧!
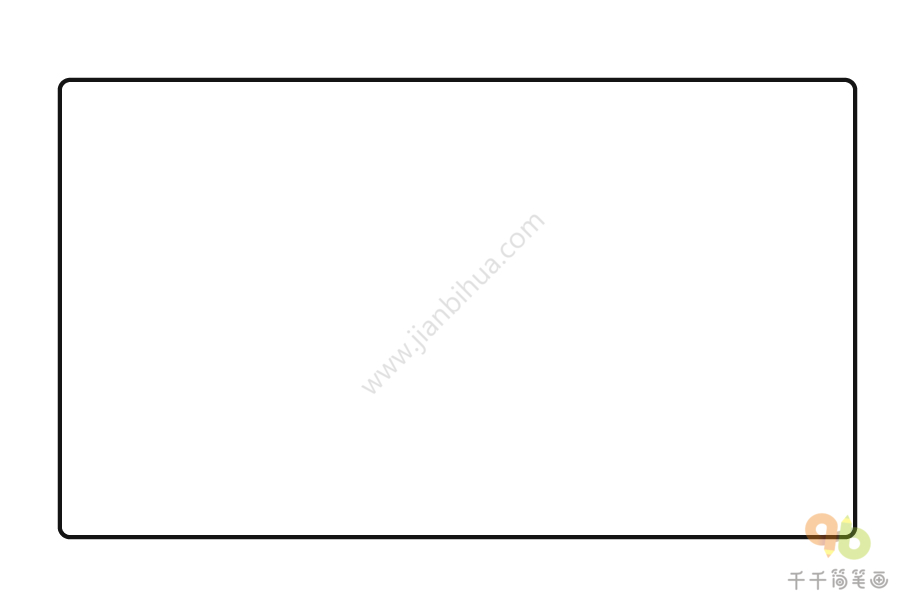
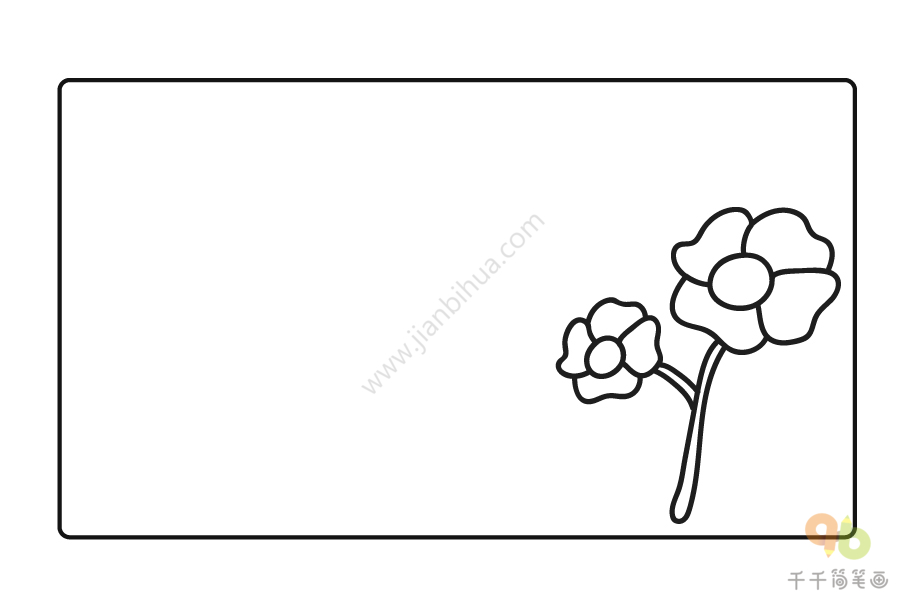
第一步:画出贺卡的外轮廓,定好主体物的位置。
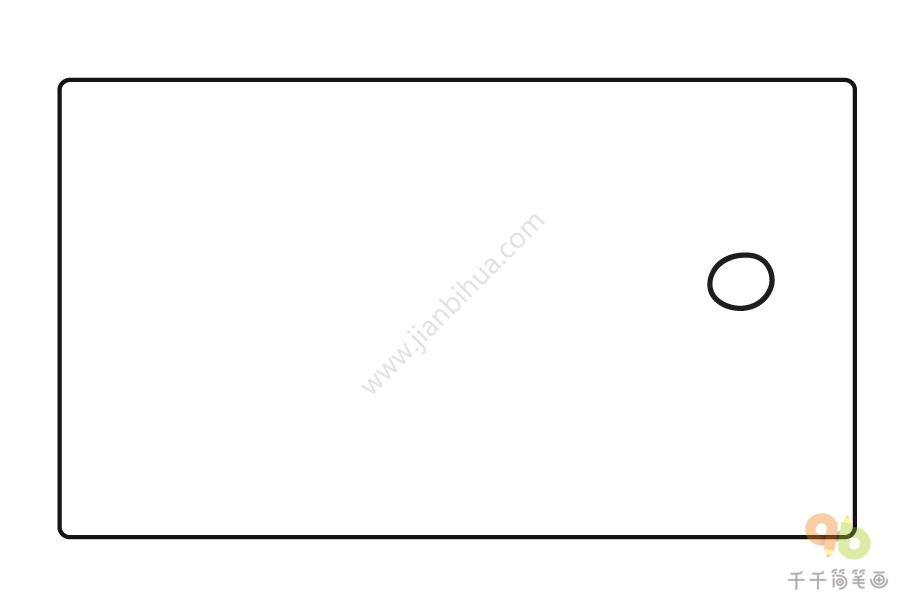
第二步:画出鲜花的花芯,注意画面布局。
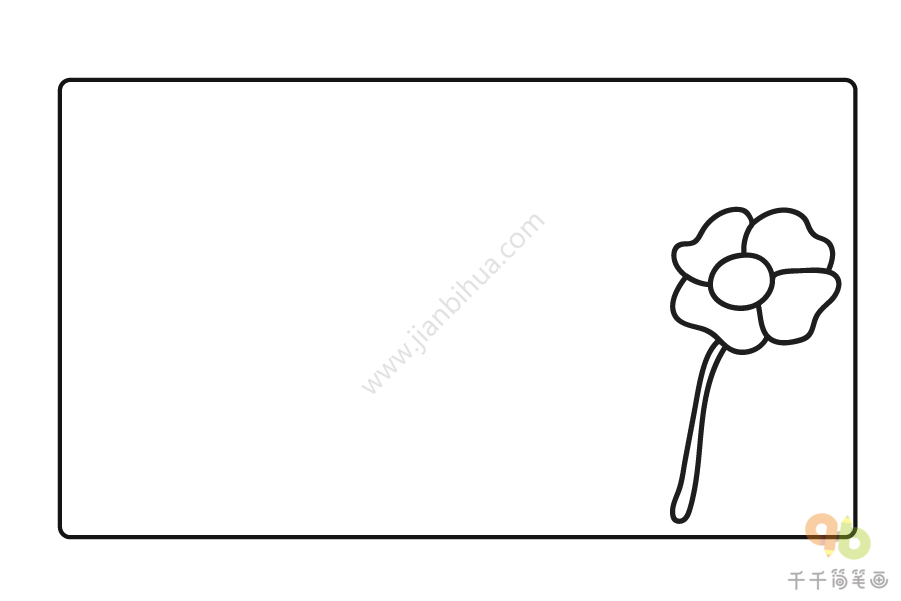
第三步:画出鲜花周围的花瓣,接着画出它的花茎。
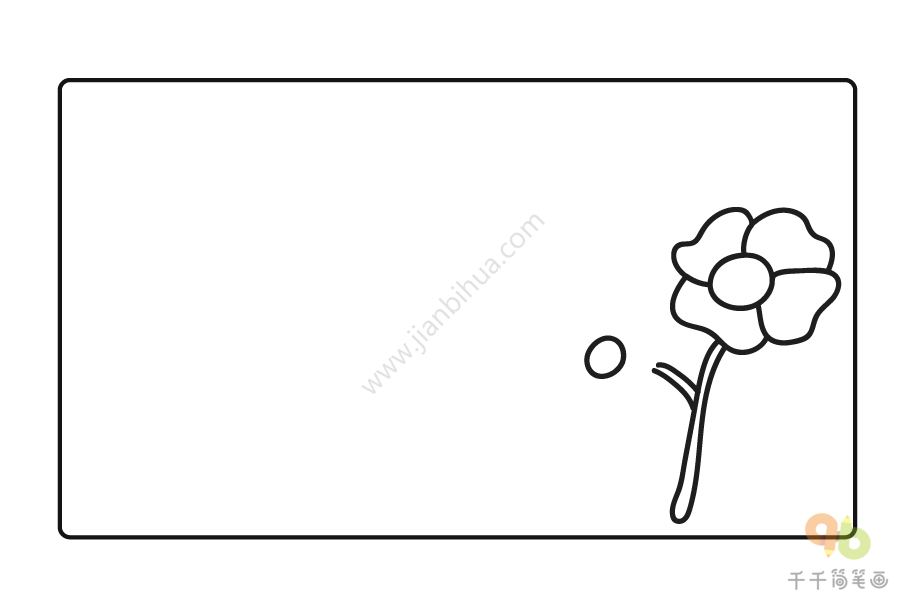
第四步:画出另一朵鲜花的花芯。
第五步:画出鲜花周围的花瓣。
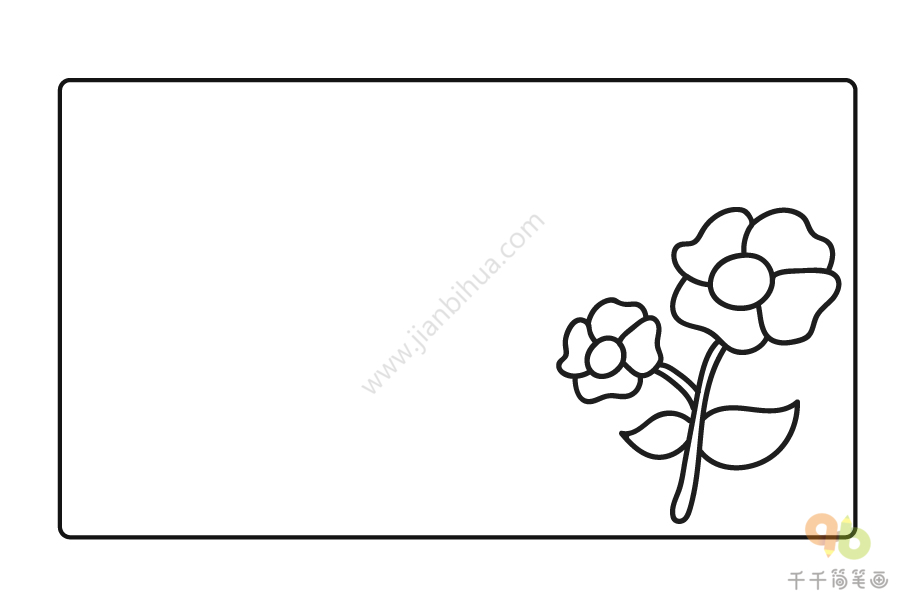
第六步:画出的叶子,注意与鲜花的衔接。
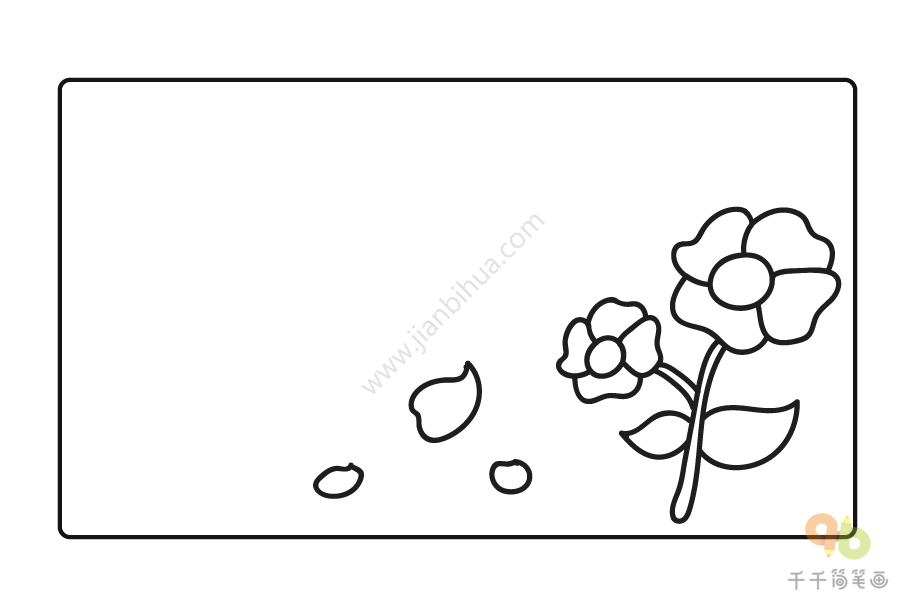
第七步:画出飘落一边的花瓣。
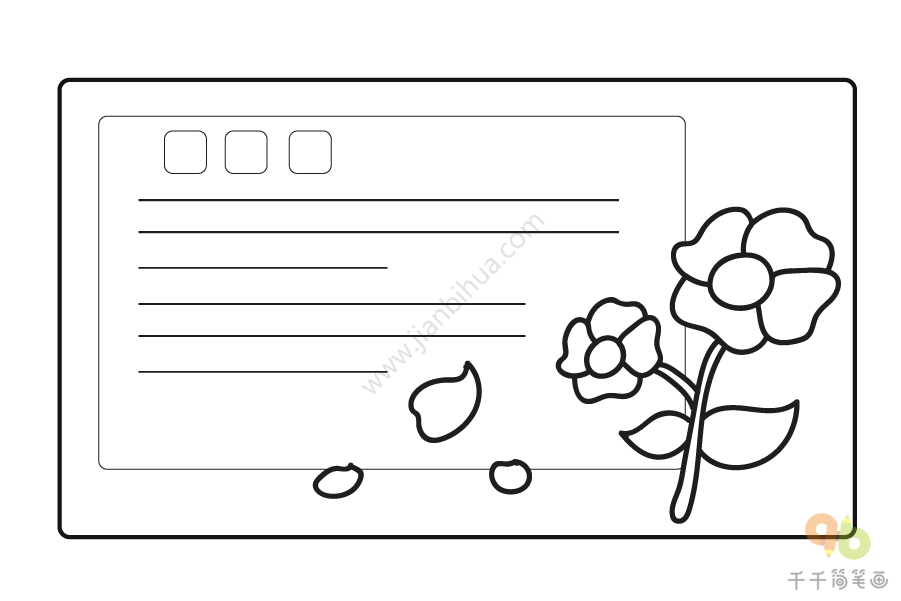
第八步:画出一边的文本框。
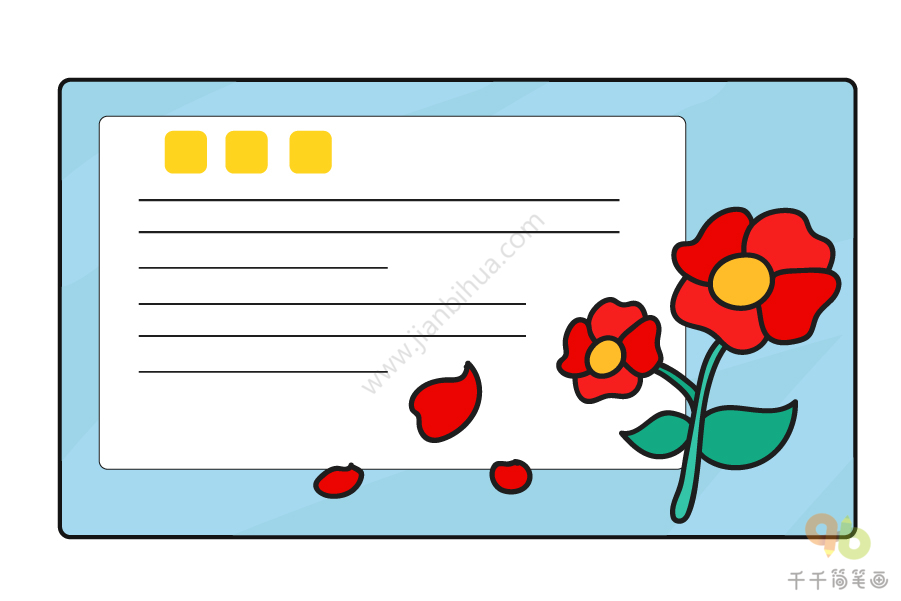
第九步:涂上颜色,鲜花贺卡就完成了。
声明:少数图片版权归原作者,如涉及版权及时下线。
相关推荐


查看更多
